“`html
Whether you’re an amateur photographer, a seasoned professional, or someone who just wants to take better vacation photos, understanding how to properly use a tripod can take your game to another level. In this comprehensive guide, we’ll cover when and why to use a tripod, step-by-step instructions on how to set it up, and essential techniques for getting the most out of your tripod. By the end, you’ll be equipped with the knowledge and skills needed to elevate your photography and videography endeavors.
When to Use a Tripod?
Knowing when to use a tripod can make a significant difference in your photography or videography. Tripods are indispensable tools that offer stability, allowing you to capture images and videos that would otherwise be too shaky or blurred.
They are particularly useful in low-light conditions, long exposure photography, and when you need to make precise adjustments to your composition. Understanding when to employ a tripod can transform your work, making it sharper and more professional.
How to Use a Tripod
Start by finding your composition.
The first step in using a tripod effectively is to determine the composition of your shot. Before extending the tripod legs, walk around and find the perfect angle and framing for your image. This ensures you set up the tripod in the best possible position from the start.
Once you’ve found the right spot, mentally mark where your tripod will be placed. This will save you time and effort in adjusting the tripod after it’s fully extended.
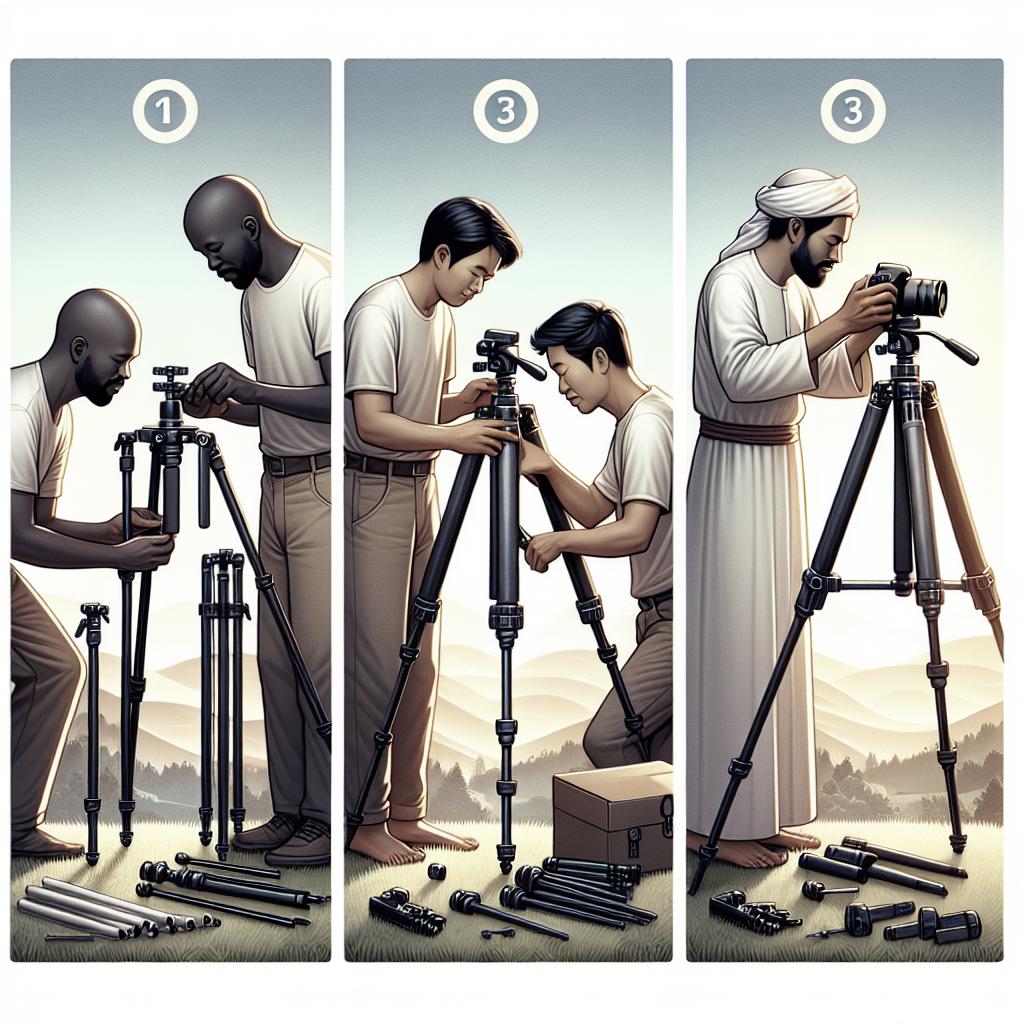
Let go of the tripod legs
After finding your composition, it’s time to extend the tripod legs. Open the legs wide enough to provide stability but keep them narrow enough to fit in the space you’ve allocated.
Most modern tripods have a locking mechanism. Make sure each leg is locked securely to prevent any wobbling or collapsing during your shoot.
Position the tripod legs properly
Positioning the tripod legs correctly is crucial for stability. Aim to place each leg at an equal distance apart to form a triangle with the ground. This distributes the weight evenly and minimizes the risk of tipping over.
If you’re on uneven terrain, adjust the legs individually to maintain a level surface. This is important for capturing level horizons and avoiding skewed perspectives in your photos or videos.
How to get the tripod level
A level tripod is essential for professional-looking shots. Many tripods come with a built-in bubble level, which makes it easier to achieve this. Adjust the legs until the bubble is centered within the circle.
If your tripod doesn’t have a bubble level, use a small carpenter’s level placed on the mounting plate or utilize your camera’s built-in horizon level feature.
Attaching your camera or phone to the tripod
The final step is to secure your camera or phone to the tripod. Most tripods have a quick-release plate that makes this process straightforward. Attach the plate to the base of your camera and then clip it into the tripod head. Make sure it clicks securely into place.
If you’re using a smartphone, purchase a phone mount adapter that can be screwed onto the tripod head. This will keep your phone stable and secure, allowing for crisp photos and smooth videos.
Why do you need a tripod for photography?
Tripods are essential for many photography scenarios. They provide the stability needed for long-exposure shots, low-light environments, and precise framing.
Additionally, tripods allow photographers to reduce the blur and noise that can occur from hand-held shots, especially in scenarios demanding high precision and stability.
#1: Photographing Landscapes
When it comes to landscape photography, a tripod is invaluable. It enables you to capture crisp and clear images by keeping your camera stable for long exposure shots.
This is particularly important during the golden hours of sunrise and sunset when light conditions are changing rapidly.
#2: Photographing in Low Light
Low-light photography often requires slower shutter speeds to allow more light to hit the camera sensor. Hand-holding your camera during long exposures can introduce camera shake and blur.
A tripod eliminates this issue by providing a stable platform for your camera, allowing you to capture clear, well-exposed photographs even in dimly lit environments.
#3: For Any Video Work
Stability is key in videography. Shaky footage can be disorienting and unprofessional. A tripod ensures your video remains stable and smooth, enhancing the viewing experience.
Whether you’re conducting an interview, capturing B-roll, or filming a time-lapse, a tripod is an essential tool in any videographer’s arsenal.
#4: To Overcome Hand Shakiness
Even the steadiest hands can introduce subtle shakes that ruin a photo or video. Using a tripod removes this variable entirely, allowing for sharper and more consistent results.
This is especially helpful when using heavy lenses or during extended shooting sessions where hand fatigue can set in.
#5: For Time Lapses
Time-lapse photography involves capturing a series of images over a prolonged period and combining them to create a fast-motion sequence. A tripod is essential for keeping your camera still throughout the process.
Any movement during the capture can lead to a disorienting and jarring final product, making a tripod indispensable for this type of work.
#6: For Astrophotography
Astrophotography often necessitates long exposure times to capture the faint light from distant stars and celestial objects. A tripod provides the stable platform required for these lengthy exposures.
Without a tripod, even minor movements can ruin a photo, making this tool crucial for anyone looking to explore the night sky through their lens.
#7: For HDR Photography
High Dynamic Range (HDR) photography involves taking multiple exposures of the same scene and blending them to achieve a wider range of lights and darks. For this to work, each shot needs to be perfectly aligned.
A tripod ensures that your camera remains in the same position for each exposure, making the blending process more seamless and the final image more striking.
5 Best Tripod Techniques
Level Your Head
The tripod head should be leveled to avoid crooked or tilted photos. Most tripod heads come with a bubble level, but smartphones and cameras also often have a built-in level feature.
Ensuring your head is level helps in capturing professional and aligned shots, making post-processing simpler and more effective.
Positioning Your Legs Correctly Is Important
Proper leg positioning is crucial for maximizing stability. Spread the legs wide enough to provide a strong base while keeping them narrow enough to fit your shooting area.
On uneven terrain, adjust each leg individually to ensure the tripod remains level and stable.
Adjust Your Drags
Drags control the resistance of the tripod head’s movement. Adjusting drags appropriately ensures smooth panning and tilting motions, which is especially important for video work.
Each situation may require different drag settings, so practice and experiment to find the optimal configuration for your specific needs.
Move Smoothly
When adjusting your tripod’s position or the camera angle, do so smoothly to avoid jarring movements that can disrupt the composition or introduce blur.
Practice moving the tripod head gently and gradually to achieve the best results in your photography or videography work.
Tripod Setup and Care
Regular maintenance is vital for prolonging the life of your tripod. Clean the legs and head to remove dirt and grime that could affect performance.
Check the locking mechanisms regularly to ensure they are functioning correctly, and always store the tripod in a protective case when not in use to prevent damage.
Final Verdict:
Tripods are essential tools that can greatly enhance the quality of your photography and videography. From eliminating hand shakiness to facilitating complex shots like time-lapses and HDR photography, the benefits of using a tripod are substantial. Understanding when and how to use a tripod, as well as employing best practices, will significantly improve your work.
| Aspect | Main Points |
|---|---|
| When to Use a Tripod | Low-light, long-exposure, precise adjustments |
| How to Use a Tripod | Composition, leg positioning, leveling, camera attachment |
| Why Need a Tripod | Landscapes, low light, video, hand shakiness, time-lapses, astrophotography, HDR |
| Best Techniques | Level head, proper leg positioning, adjust drags, smooth movements, setup and care |
FAQs (Frequently Asked Questions)
How do I take a picture with a tripod?
Attach your camera securely to the tripod, compose your shot using the viewfinder or screen, adjust settings as needed, and then use a remote shutter release or timer to take the photo without introducing shake.
Do tripods work with any camera?
Most tripods are compatible with the majority of cameras. Check the tripod’s load capacity and ensure it has the correct mounting plate for your camera.
What are some things you should not do with a tripod?
Avoid using a tripod on unstable surfaces, over-tightening the legs or head, and overloading it with too-heavy equipment.
Is a tripod really necessary?
While not always necessary, a tripod significantly enhances stability and the quality of your shots, making it a valuable tool for many types of photography and videography.
Does a tripod make a difference?
Yes, a tripod makes a considerable difference by providing stability, reducing blur, and allowing for more creative shots like long exposures and time-lapses.
What are the advantages of using a tripod?
The main advantages include improved stability, sharper images, the ability to use long exposure times, reduced hand shakiness, and more precise composition.
Share your love by sharing this post :))
“` This blog post thoroughly covers the topic of using a tripod, ensuring that readers have a clear understanding of when and how to use a tripod, the benefits it offers, and practical techniques for maximizing its use. The FAQ section answers common queries, providing additional value to the reader.