“`html
How to Do Long Exposure Photography
Long exposure photography is a fascinating technique that can transform ordinary scenes into mesmerizing spectacles of motion and color. By using prolonged shutter speeds, photographers can capture the movement of time and light in a single frame, resulting in visually stunning images. This guide will walk you through the basics of long exposure photography, including why you might want to explore this technique, how different exposure times affect your photos, troubleshooting tips, and specialized information on shooting without ND filters. Whether you’re aiming to capture the ethereal flow of waterfalls, the dynamic streaks of clouds, or the textured serenity of seascapes, this comprehensive overview will equip you with the knowledge you need to elevate your photography skills.
The Basics of Long Exposure Photography
Long exposure photography involves using a slow shutter speed to capture the movement of elements within a frame over an extended period. Unlike typical photography that aims to freeze a moment, long exposure focuses on blurring moving elements like water, clouds, and traffic lights, while keeping stationary objects sharp. This technique results in dreamy, surreal images that portray the passage of time.
The foundation of long exposure photography lies in mastering your camera settings. You’ll need to manually adjust shutter speed, aperture, and ISO to achieve the desired effect. Also, a tripod is essential to keep your camera stable during the extended exposure time, preventing any unintended blur from camera shake.
Why would you want to shoot with long exposures?
Shooting with long exposures opens up a realm of creative possibilities. It allows you to capture scenes in a way that’s typically invisible to the naked eye. For instance, moving water can transform into a silky smooth surface, and the movement of clouds can translate into soft, wispy streaks across the sky. Long exposure can elevate ordinary scenes to extraordinary levels by adding a sense of motion and depth.
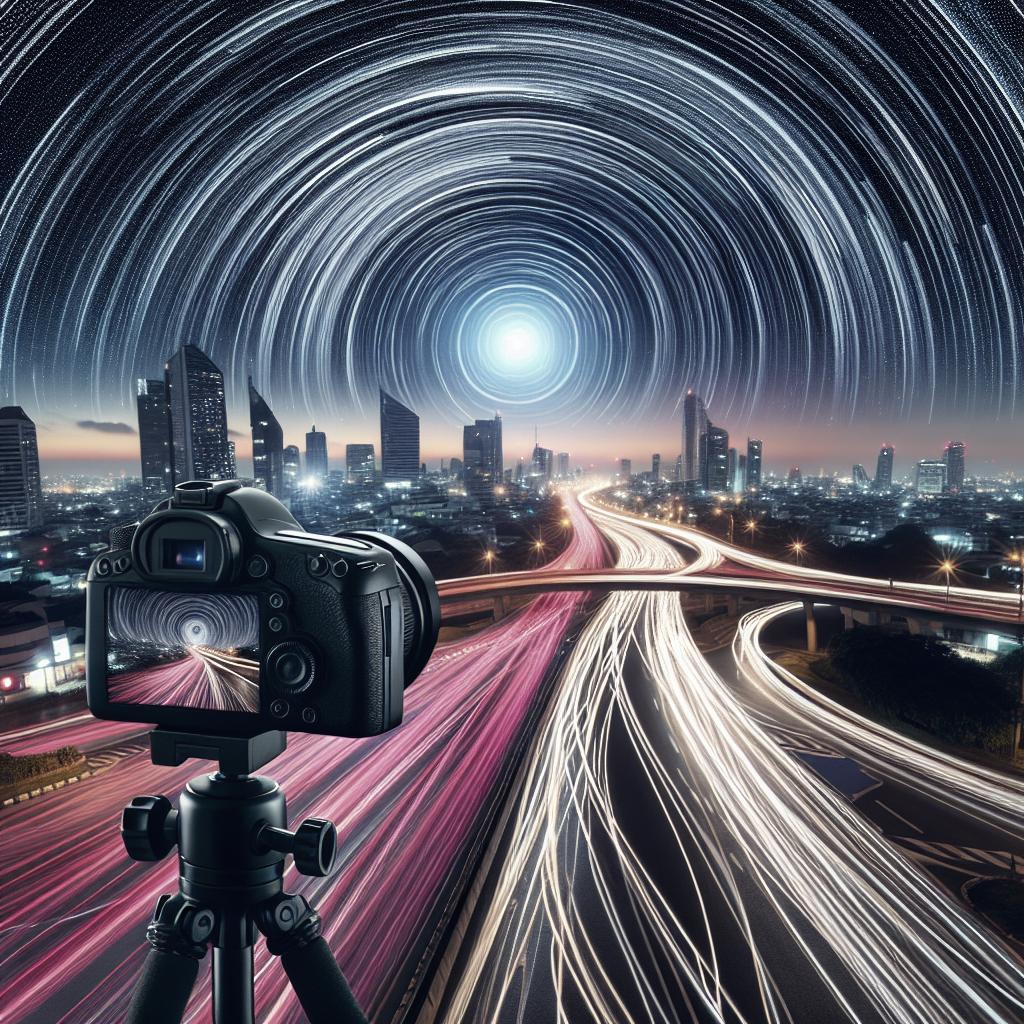
Long exposure photography also enables you to play with light in interesting ways. You can capture the dynamic trails of city traffic, create ghostly figures in crowded places, or even bring out the hidden patterns in night skies. This technique can be particularly useful for landscape and architectural photography, where it helps emphasize the contrast between static and moving elements.
Movement is what you need for Long Exposures
The key to a successful long exposure photograph is movement. Identifying dynamic elements in your scene is crucial. Waterfalls, rivers, ocean waves, clouds, and city lights are all excellent subjects for this technique. The movement adds a sense of drama and transforms the photo into a visual story of time and space.
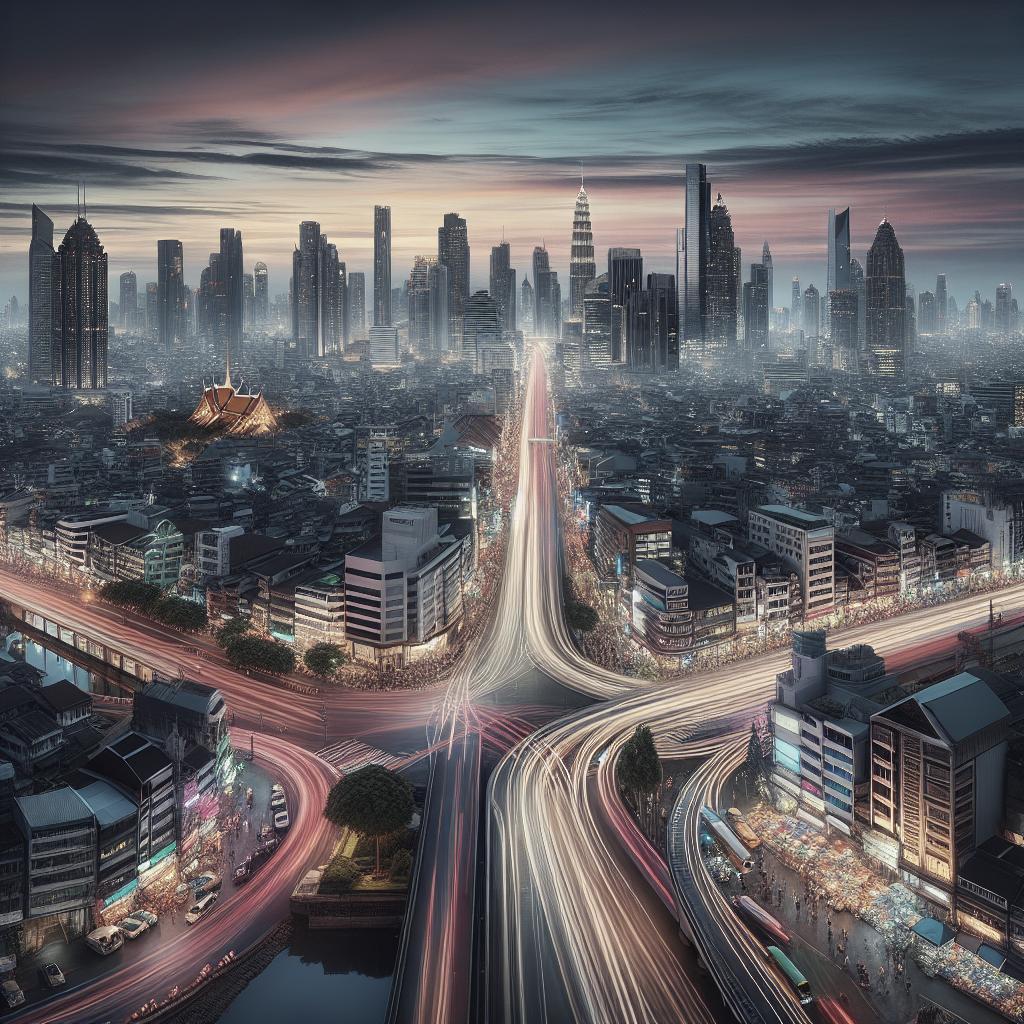
In urban environments, consider photographing bustling streets or pedestrians crossing a busy intersection. For nighttime photography, the headlights and taillights of moving cars can create striking light trails. The contrasting motion can give your photos an artistic flair that’s both engaging and unique.
What Different Exposure Times do to Your Photos
The impact of different exposure times on your photos can vary widely. Shorter exposures, ranging from 1 to 30 seconds, might just blur movements slightly, giving a balanced look between stationary and moving elements. These shorter exposures are great for capturing subtle motion in clouds or a hint of movement in water.
Longer exposures, from 30 seconds to several minutes, dramatically transform the scene. Water becomes a smooth, glass-like surface, clouds streak across the sky, and stars can turn into mesmerizing trails. Using a bulb mode on your camera allows for even longer exposures beyond the typical camera settings, giving you creative freedom to experiment and find what exposure time works best for your vision.
How to shoot long exposures
First, find a stable surface or set up a tripod to minimize camera shake. Set your camera to manual mode to have full control over shutter speed, aperture, and ISO. Start with a low ISO setting to minimize noise and a small aperture (large f-number) to ensure wide depth of field.
Next, compose your shot and focus on your subject. If your scene is too bright, consider using an ND filter to reduce the light entering the lens. Adjust your shutter speed according to your intended effect. Take test shots and review them to make necessary adjustments. Remember to use a remote shutter release or the camera’s self-timer to avoid camera shake when pressing the shutter button.
Troubleshooting Long Exposure Photography
One common issue in long exposure photography is overexposure. This can be countered by using ND filters, selecting smaller apertures, and lowering the ISO. Another challenge is camera shake, which can be mitigated by a sturdy tripod and either a remote shutter release or the self-timer function.
Additionally, achieving proper focus can be tricky, especially in low light. Use manual focus and live view to ensure sharpness. Also, protect your camera from environmental factors like wind, which can cause unwanted blur. Always review your shots and make necessary adjustments to capture your perfect long exposure photograph.
What is a Stop of Light?
A “stop” in photography refers to the doubling or halving of the amount of light that reaches your camera’s sensor. It’s a way to measure exposure changes. For instance, increasing the exposure by one stop means you double the light, and decreasing the exposure by one stop means you halve the light.
Understanding stops is crucial in long exposure photography because it helps you balance the elements of exposure: shutter speed, aperture, and ISO. Mastering this concept allows you to make precise adjustments, ensuring your long exposure images are well-exposed despite the extended shutter times.
Long Exposure Photography without ND Filters
While ND filters are valuable tools, you can still achieve long exposure effects without them. Opt for shooting during times with less ambient light, such as dawn, dusk, or nighttime. Lowering the ISO and choosing a small aperture will also help in reducing light intake.
These adjustments allow for longer shutter speeds without overexposing your image. For instance, capturing light trails, star trails, or milky water effects can still be accomplished without the use of ND filters, given you control other exposure settings effectively.
ND Filters For Long Exposure Photography
ND (Neutral Density) filters are essentially sunglasses for your camera. They allow you to use slower shutter speeds in bright conditions without overexposing your image. ND filters come in different strengths, measured in stops, which indicate how much light they block.
Incorporating ND filters can tremendously expand your long exposure possibilities. For instance, in broad daylight, an ND filter lets you achieve the smooth, flowing effect on water or isolate moving elements, creating dramatic contrasts that would otherwise be impossible without overexposing the shot.
Are Variable ND filters any good for Long Exposure Photography?
Variable ND filters offer adjustable light reduction, usually between 2 to 8 stops. This flexibility can be advantageous as it allows on-the-fly adjustments without changing filters. However, they may not be as precise as fixed ND filters and might introduce color casts or vignetting in the image.
For many situations, variable ND filters are practical and versatile, but they might not match the performance and clarity of high-quality fixed ND filters in extreme long exposure settings. Evaluate your needs and preferences when deciding which type of ND filter to use.
Waterfall Photography and Long Exposures
Capturing waterfalls with long exposure photography can result in a smooth, ethereal effect that showcases the constant, tranquil motion of the water. Plan your shoot on an overcast day or during golden hours when the light is softer to avoid harsh highlights and shadows.
Use a tripod and set your ISO to the lowest setting. Choose a small aperture to maintain a wide depth of field, and start with a shutter speed around 1-2 seconds, adjusting as needed. An ND filter can help manage exposure if the scene is too bright. Experiment with different angles and compositions to find the most captivating shot.
Clouds and Long Exposure Photography
Long exposure photography can add a dramatic flair to sky scenes by capturing the motion of clouds moving across the frame. This technique works best with partly cloudy skies where there’s enough movement to create streaks but not too much to obscure the sky completely.
Set your camera on a tripod and use a low ISO and a small aperture. Depending on the speed of the clouds and desired effect, a shutter speed of 30 seconds to several minutes can be ideal. ND filters can further lengthen exposure times if necessary. Monitor the clouds’ movement and adjust your settings to capture the perfect shot.
Seascapes and Long Exposure Photography
Seascapes are perfect subjects for long exposure photography, where the waves’ movement can create a silky, ethereal effect, and moving clouds can add dynamic elements to the sky. Early mornings or late evenings provide the best light conditions for such shots.
Stabilize your camera with a tripod, and set a low ISO and a small aperture. Adjust your shutter speed based on the wave’s motion; experiment with different times, starting with a few seconds to several minutes. ND filters can be particularly useful here to extend exposure during brighter times of the day. Always be cautious of tides and water levels when photographing seascapes.
Final thoughts on Long Exposure Photography
Long exposure photography can transform the ordinary into the extraordinary, enabling photographers to capture time in ways that the human eye cannot perceive. By mastering the basics, understanding the importance of movement, knowing how to use exposure times creatively, and effectively employing tools like ND filters, you can create stunning and unique images. Whether you’re capturing the serene flow of water, the dynamic movement of clouds, or the dramatic beauty of seascapes, this technique offers endless possibilities for creative expression.
| Topic | Summary |
|---|---|
| The Basics of Long Exposure Photography | Involves slow shutter speeds to capture motion; requires manual settings and a tripod. |
| Why would you want to shoot with long exposures? | Creates unique, dynamic images not visible to the naked eye; useful for dramatic landscape and architectural photos. |
| Movement is what you need for Long Exposures | Identifying dynamic elements like water, clouds, and city lights is crucial. |
| What Different Exposure Times do to Your Photos | Shorter exposures blur slightly; longer exposures create dramatic, surreal images. |
| How to shoot long exposures | Use a tripod, manual settings, low ISO, and small aperture; ND filter if needed. |
| Troubleshooting Long Exposure Photography | Address overexposure, camera shake, and focus issues with proper tools and techniques. |
| What is a Stop of Light? | Refers to doubling or halving light intake, crucial for balanced exposure. |
| Long Exposure Photography without ND Filters | Shooting in low light, using low ISO, and small aperture to control exposure. |
| ND Filters For Long Exposure Photography | Block light to extend shutter speeds in bright conditions; come in various strengths. |
| Are Variable ND filters any good for Long Exposure Photography? | Adjustable light reduction, practical but may introduce color casts or vignetting. |
| Waterfall Photography and Long Exposures | Creates a smooth, ethereal effect by capturing the constant motion of water. |
| Clouds and Long Exposure Photography | Captures dynamic motion in the sky, works best with partly cloudy skies. |
| Seascapes and Long Exposure Photography | Captures the waves’ movement and dynamic clouds, ideally shot during early morning or late evening. |
“`


